.

.

Birds eye view

Birds eye view

Wednesday 27 February 2013

Another year more modifications

2011-  Finally by this time engine stalls over the unpowered frogs of the turnouts was getting beyond annoying so some surgery was in order.  First I had to locate the powering point on the turnout under all the ballast, drill wiring holes and then solder wiring connections.  With that out of the way now how to change polarity of the frog bases on the throw of the turnout. I had thought about under the table electric switch boxes that can control the direction of the switch as well as polarity at the flick of a button but the price point was a major issue and it is a very small layout. So instead I went with simple micro single pole double throws after some trouble shooting I finally got the wiring the way I wanted it. The next question was were to mount the switches and as the pictures show below was my answer. I first drilled a hole for wire access then hot glued the switch in, next I added a little wire linkage connecting the switch to the turnout. Unfortunately the push rods I had been using weren't strong enough to move the switch so I simply decommissioned them and now just flip the switch to move the turnout direction. I later found this much easier at train shows to switch the track because I wouldn't need to be bending over from the rear of the layout to reach the front push rods.


One thing I always wanted to do was add some water to the layout, though I never really planned for it at the beginning I figured I could work it in some where along the way. Thanks to the layers of cork it made it easy to dig out some ditches down to the base wood then paint it up. Then for the water part I decided to try some thing different, hot glue. It was mildly successful in thin layers to imitate the look of a running stream but as the thicker the layer the more it loses its sheen and just looks like a cloudy mess. So I left it with intentions of coming back and redoing it.


Home made dumpster

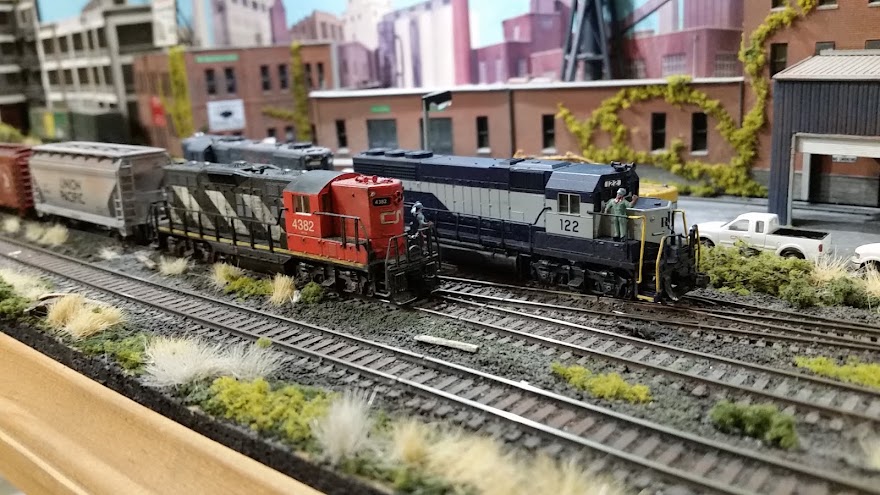
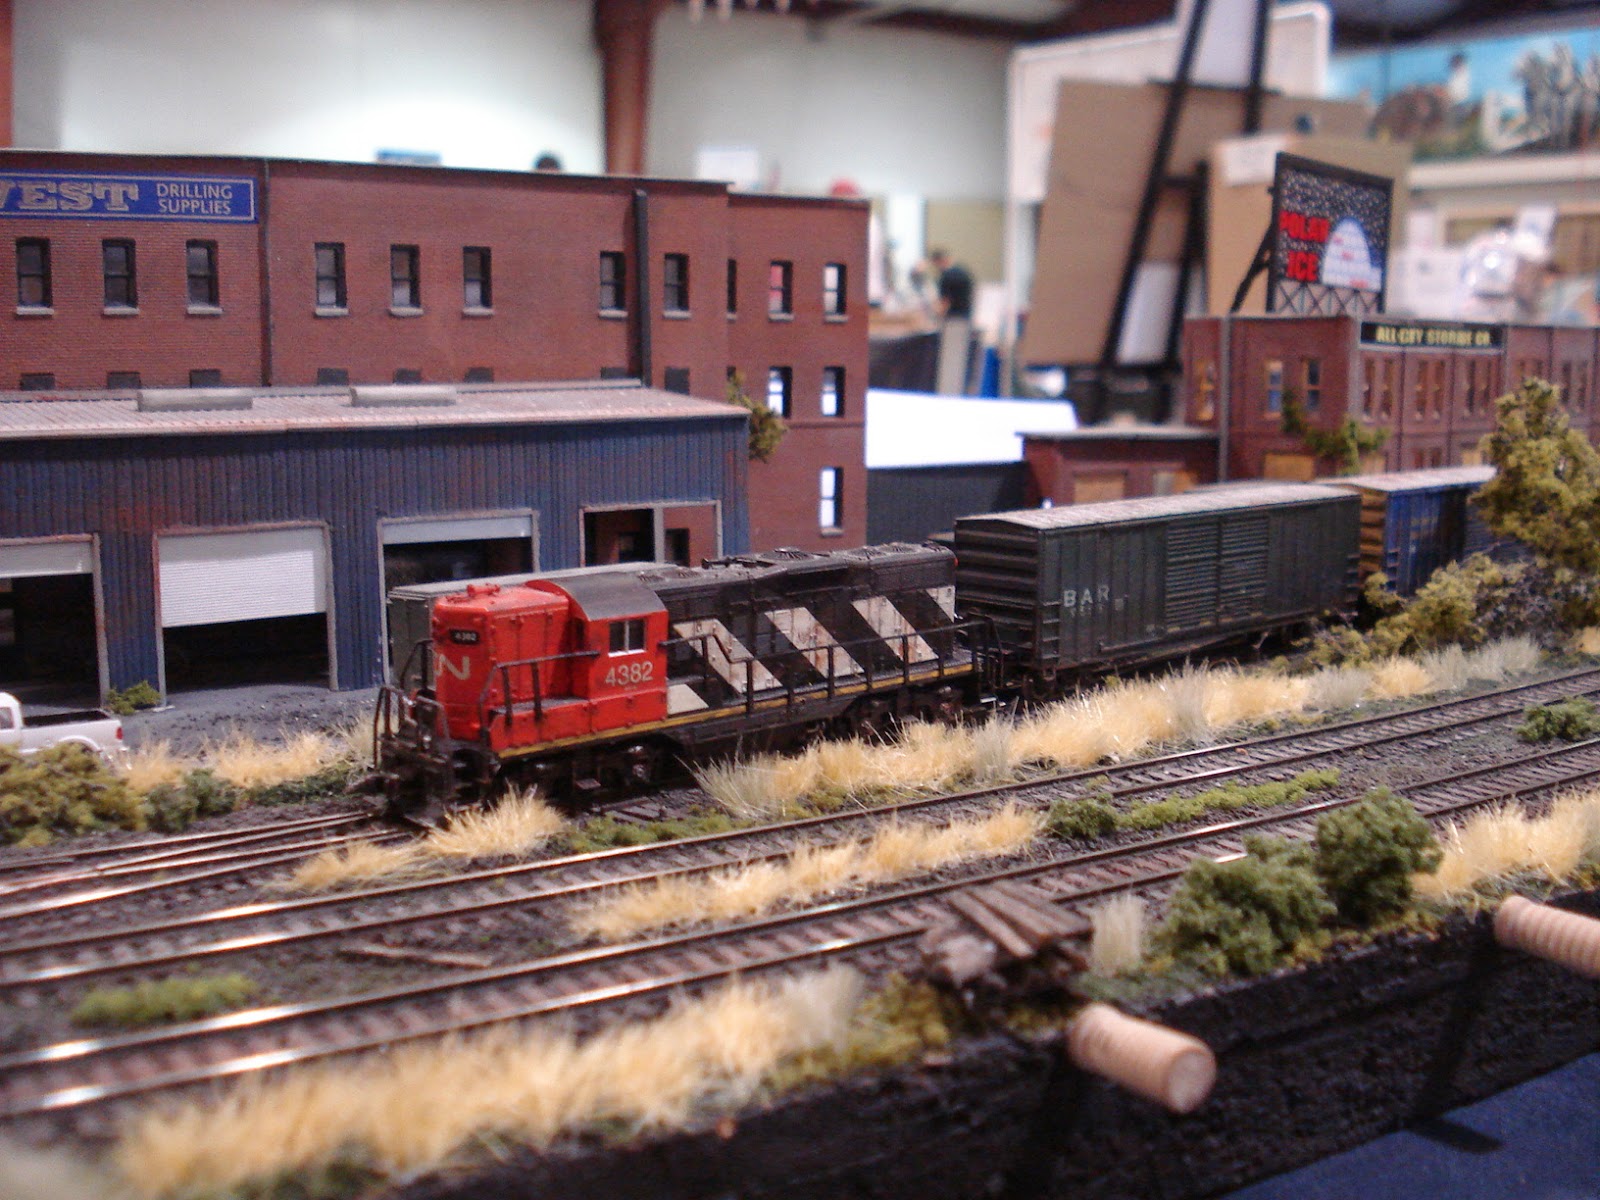
I added back drop scenery using clippings of advertising of model building kits from train magazines and catalogs, simply finding the pictures with the right perspectives and depths of field then cutting them out and using spray adhesive to apply them.


A Light Work USA neon animated sign, very neat light show sign, one down side is the high pitched noise it lets off while cycling.

Tuesday 26 February 2013

Cleaning up the edges

 2010- Wow and these 5 photos are all I have from of the layout from that year, so I added few other photos of my ho layout from the Muskoka train show. It was a busy time, had just moved into a new apartment and my now wife would later move in so not too much time for railroading. I did get around to putting on the back drop and adding some pine trim, even added some much need structural support underneath.
 Beer can help two ways
 All the trim is glued on and to this day I never bothered staining it.
 New Ikea lighting, not the greatest, but it was cheap and did the job
 Some pics of me and the ho layout. Originally after selling my old 4x6 layout long ago I I got back into the hobby started with a 4 foot switching layout using a modified plan of John Allens time saver design. Over the next few years I ended up adding on two other sections and changing the track work around to accommodate for the additions. It ran using a simple dc controller and peco insule frog switches so it didnt need complicated wiring. Structurally though it wasnt great I used screws and metal brackets to hold the sections together and the power was connected between sections using only the rail joiners so I would have to replace them now and then. If I were to do it again I would definietly build proper benchwork using less wood and more foam to make it lighter and a more secure method of joining section would be in order. At the time it was a nice little layout and got me enjoying the hobby.


Muskoka Train show 08

Aug 2008 at the Muskoka Model Train show in Bracebridge, Ontario. I usually would bring my larger ho layout but they were tight on space as I entered last minute so I only displayed the n scale layout that year. I must say the lighting in that building is awesome and could finally get some brighter closeup shots.

 A very old Athearn gp9 I did up for my ho layout, PLM aka Preferred Lease Management, I must say its one of the best running engines I have ever had.


Over the past 10 years of having layouts in this show I have never had anything broken, a few close calls but fingers are crossed
 Some wild gundams appeared!


The little house from long ago

 Some more photos with the lights.

Feb 2009 - A long time ago I was given a set of 3 n scale houses by an old friend and mentor who taught me to play music, at that time I was just starting model railroading and was only into ho scale so they were never really used and sat around forgotten at the bottom of an old scrap box.  When I originally put them together long ago they had stickers to decorate the outside with a cheap brick facade which after all these years had peeled away and looked really horrible. So a little sprucing up was in order with some wood, paint and weathering and after clearing some bush I made a little nook besides the heavy equipment repair shop and plunked it there. Sadly the old mentor has long passed away but I would like to think if he could see it now he would be smiling and give a good pat on the back.